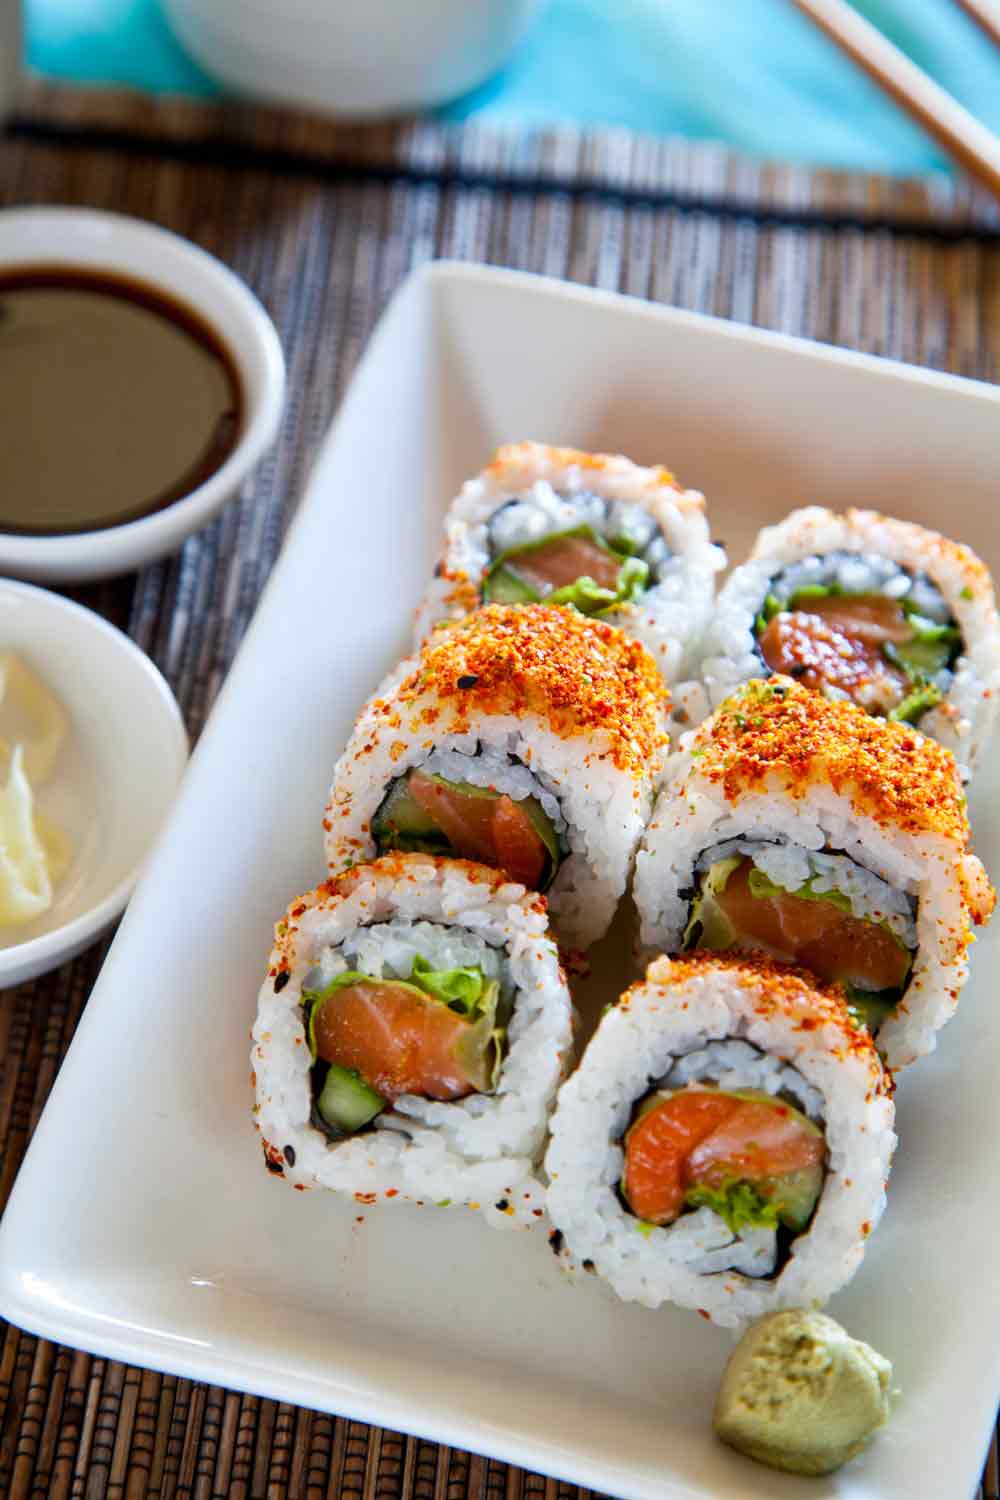
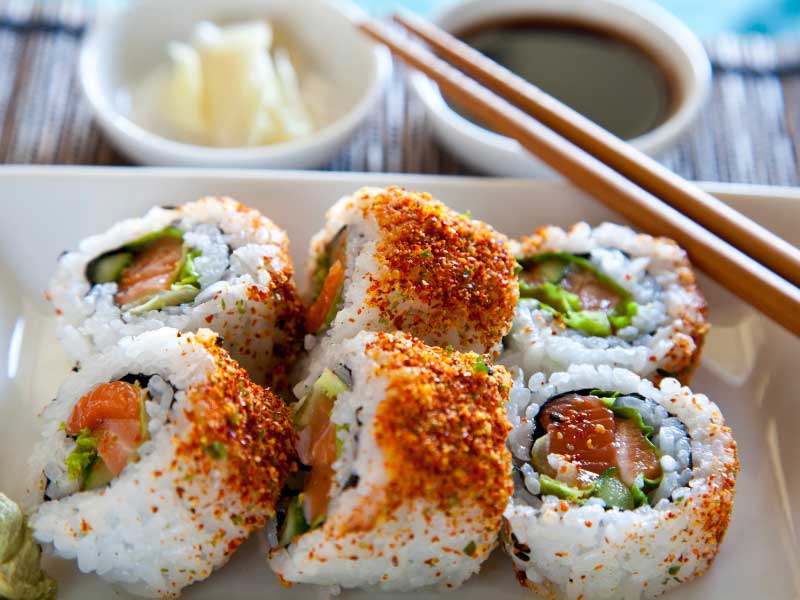
Hot DAMN, this Spicy Tuna Roll turned out sooooooo good! I was so proud of myself for making sushi with raw fish! A couple of the rolls looked really wonky, but overall the rolls turned out great!

I got my sushi grade tuna from Dirk’s fish market on Clyborn Ave in Chicago (link for site is listed below). I must admit the fish quality was excellent, but the sidewalk quality, to GET to Dirk’s, was a shit show. SHOVEL YOUR SIDEWALK’S PEOPLE OF CHICAGO! I almost fell on my face a few times getting to, and coming home, from Dirk’s, and I only had my precious tuna to break my fall! Remind me to make sushi again in the late Spring or Summer, when I don’t have to deal with this frozen ass tundra!
I’m really happy, and kinda surprised, this recipe turned out due to my inability to follow directions, and the fact I got all crazy with the ingredients!!!
First, I substituted Mexican hot sauce for the Sriracha sauce. Second, I botched step #2 in the directions! It clearly tells you to combine the tuna, 3 tsp of Sriracha sauce, 1 tsp. green onion, and 1/2 tsp sesame oil together. I missed that part and mixed (in a separate bowl) 1 Tablespoon of Mayo with 1 Tablespoon of Mexican hot sauce, then I used 3 tsp of that mixture, INSTEAD of the plain Sriracha sauce, and added it to the tuna.
Why the hell did I use Mexican hot sauce? Kieran doesn’t fair well with really spicy things, and even though the mayonnaise cuts out some heat, Sriracha sauce is too much for him. I didn’t feel like buying a big bottle of Sriracha (they only come in size large??? What the crap???) only to throw the majority of it away. So, I improvised and used Mexican hot sauce, which my husband can tolerate.
Additionally, for fun I added cilantro to the Spicy Tuna mixture too! Not sure if it was worth it though, I couldn’t taste it.
Annnnnnd, I did not follow Nami’s recipe for prepared sushi rice. I was making both California and Spicy Tuna Rolls at the same time, so I used the rice recipe from the California Roll’s and doubled it, to ensure I would have enough rice for both. Just remember to keep the rice covered with a damp paper towel to prevent it from drying out.
I ALSO somehow missed this recipe calls for cutting the nori seaweed sheet in half. I used the entire sheet. My end result tasted just fine, but it seemed like a lot of rice and little filling. I will go with Nami’s method next time! Please visit her site (link above) to see her “follow along” pictures! When I make this recipe again, I will follow her method and update my photos too!
I’m proud I tackled a recipe outside of my comfort zone. I’m happy to say, even though I didn’t follow the directions, it tasted great! Really great! We narfed the Spicy Tuna Rolls so fast (how fast was it?) so fast you could barely see our hands moving! I’m also ecstatic because Kieran does not like fish, but he loves it in sushi (give him raw fish and he goes nuts, give him cooked fish and he barfs…..weird eh? Sorry ladies, he’s taken :P) so I finally found something at home I can make with fish, BOTH of us can enjoy.
Ingredients
- 1 1/2 cups prepared sushi rice covered with a damp paper towel to prevent from drying out (feel free to follow the link, or use the recipe I used when I made California Rolls)
- 4 oz. (113 g) sashimi-grade tuna (available at FishforSushi.com) *In Chicago, I bought mine at Dirk’s on Clyborn (www.dirksfish.com)
- 3 tsp. Sriracha sauce
- 2 tsp. chopped green onion/scallion
- 1/2 tsp. sesame oil
- 1 sheet nori, cut in half crosswise
- 2 Tbsp. white roasted sesame seeds
- Spicy mayo for garnish optional (mix together 1 tablespoon of mayonnaise and 1 teaspoon of Sriaracha sauce)
- Bamboo mat, covered with plastic wrap
- Tezu (vinegared hand-dipping water): 1/4 cup water + 2 tsp. rice vinegar
Directions
- Cut the tuna into 1/4″ (0.5 cm) cubes (or you can mince the tuna).
- In a medium bowl, combine the tuna, Sriracha sauce, 1 tsp. green onion and sesame oil.
- Lay a sheet of nori, shiny side down, on the bamboo mat that has been wrapped with plastic wrap. Wet your fingers in tezu and spread 3/4 cup of the rice evenly onto nori sheet. Sprinkle the rice with sesame seeds. *Keep wetting your fingers to prevent the rice from sticking.
sushimat
(You can see I don’t follow directions well, I put my nori shiny side UP and did not cut the nori in half! Take THAT Nami! However, I WILL follow the directions next time, because I ended up with WAY more sushi than either my husband or I could eat.)
sushirice
(A lot of tutorials say to leave a little room at the bottom of the nori rice free, so it seals better, but I didn’t have a problem.)
- Turn the sheet of nori over so that the rice side is facing down. Line the edge of nori sheet at the bottom end of the bamboo mat. Place half of the tuna mixture at the bottom end of the nori sheet.
sushifilling
(This picture features a California Roll filling, but it’s the same concept, put the spicy tuna filling in the same area)
- Grab the bottom edge of the bamboo mat while keeping the fillings sin place with your fingers, roll into a tight cylinder. Lift the edge of the bamboo mat and continue to roll it forward while keeping gentle pressure on the mat.
- With a very sharp knife, cut the roll in half and then cut each half into 3 pieces. Clean the knife with a damp cloth every few cuts. *Note, we had to wipe the blade off after EVERY cut, otherwise it made a mess of the cuts.
cuttingsushi
(Again, this photo was taken when I was making California Rolls, but the concept is the same)
- Put a dollop of spicy mayo on top of each sushi and garnish with the remaining green onion.
sushitogether
(Here I have both California and Spicy Tuna Rolls. Not pictured here was the dollop of spicy mayo and green onion on top of the Spicy Tuna. I did end up topping the tuna rolls with that stuff, and it was very delicious!)
oneserving
(My hubs….hoggin all the sushi)

